Chicago Home and Lifestyles – 6 steps to re-potting your house plants
Spring is finally coming to the Chicagoland area! Time to get some spring cleaning done, so when the weather finally does turn we won’t have to worry about it and can get right outside.
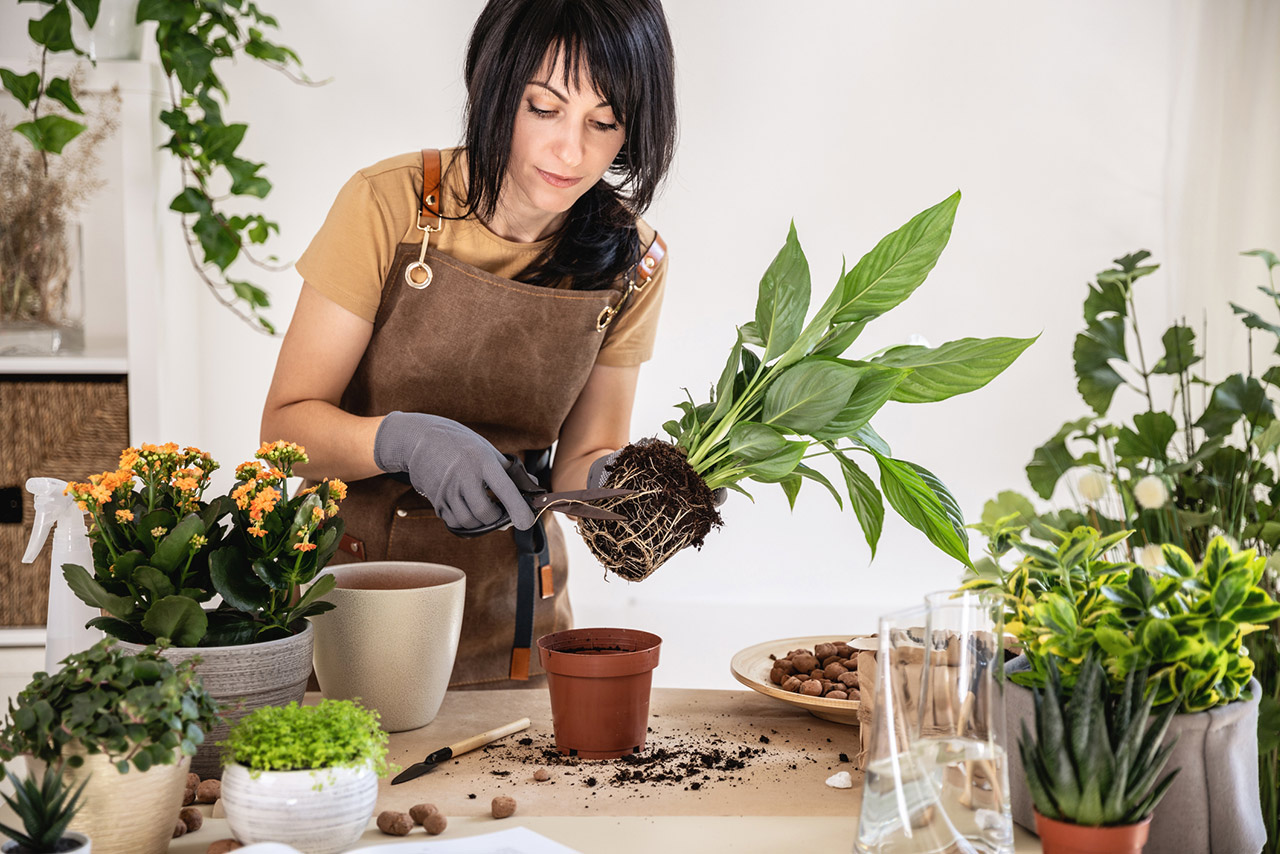
Something you should add to your spring cleaning chores is re-potting those houseplants that have outgrown their homes. Roots grow so long and full that they really take up all the room in the pot. Here are the steps to make sure your repotting is successful:
Step 1: Get the right sized pot
When you go up in size go up only 2 inches. For example, if you’re coming from a 4-inch pot go to a 6. If your plant is extremely root bound, you can go up 4 inches. I had a plant once that had hardly any soil, it was all roots!
Step 2: Prep your pot
Make a solution of one part bleach to nine parts water. If the new pot is plastic or glazed, just scrub it with this solution and let air dry.
If it’s terra-cotta or another porous material, soak in the solution for 6-8 hours to thoroughly kill any bacteria, then let it dry completely.
Once clean, place a coffee filter in the bottom. This will help keep the soil in place when re-potting.
Step 3: Water
Water the plant one hour before you plan to re-pot. This will loosen the roots and make it easier to remove the plant.
Step 4: Take your plant out gently
Take a dull butter knife and run it around the inside of the pot. Turn the pot on its side and gently work it out, don’t pull on the stem.
While you are holding the plant, loosen the root structure by gently massaging them and letting the dirt fall away. If the ball is too tight you can make three or four vertical cuts to loosen and redirect the growth. Be careful and don’t overdo it!
Step 5: Place soil in the bottom of the pot
The plants root ball should be 1-1.5 inches below the pot rim. Place soil in the bottom of the pot accordingly. Add enough soil to cover the plant up to the crown (where the foliage meets the roots.
Step 6: Water again and let it sit!
Water the plant in its new home until the water runs out of the drainage holes. Add more soil if needed. Let the plant get acclimated in its new pot before placing it in direct sunlight; about a week or so.
Then, display your freshly potted plant for the world to see!
Kathleen Weaver-Zech and Dean’s Team Chicago


